Growing homemade sprouts is so easy!
If you love adding these crunchy sprouts to sandwiches and salads like I do, you will definitely want to try this at home. Not only do they taste SO MUCH fresher than the grocery store sprouts, they are also MUCH less expensive.
Health Benefits:
Sprouts are loaded with health benefits! Sprouting beans, grains and seeds increases both their nutritional value and improves digestion by unlocking certain minerals and enzymes. These tiny sprouts are rich in antioxidants, are anti-aging, detoxifying and boost oxygen levels by increasing chlorophyll activity in the body. Sprouts also promote beautiful hair! Their high levels of copper, iron and antioxidants help prevent premature graying and high levels of vitamin A encourages the scalp to grow long, thick locks. Sprouts also repair capillaries for better blood flow to the scalp.
Fountain of youth here we come!
Sprouts are not only for vain endeavors though, they also benefit the heart and immune system from their vitamin C and omega 3 properties.
To Make:
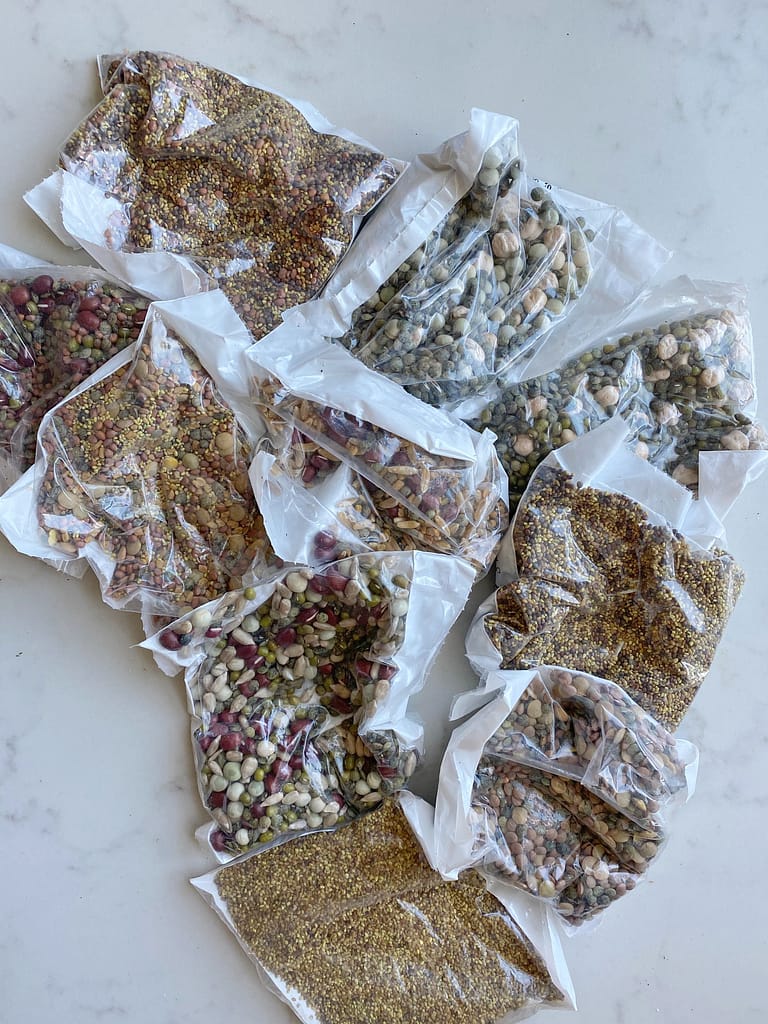
Find some sprouting seeds. Make sure they are SPROUTING seeds. We buy ours from amazon (link below). There are so many varieties to choose from on amazon and I find shopping online to be so easy with little babies right now! Before starting, make sure your sprouting jars are thoroughly clean to discourage mold and bacteria growth.
In a medium sized mason jar, add about 2 tbsp of seeds. This measurement does not need to be exact, I measured them out the first time, then after that just eye-balled the amount.
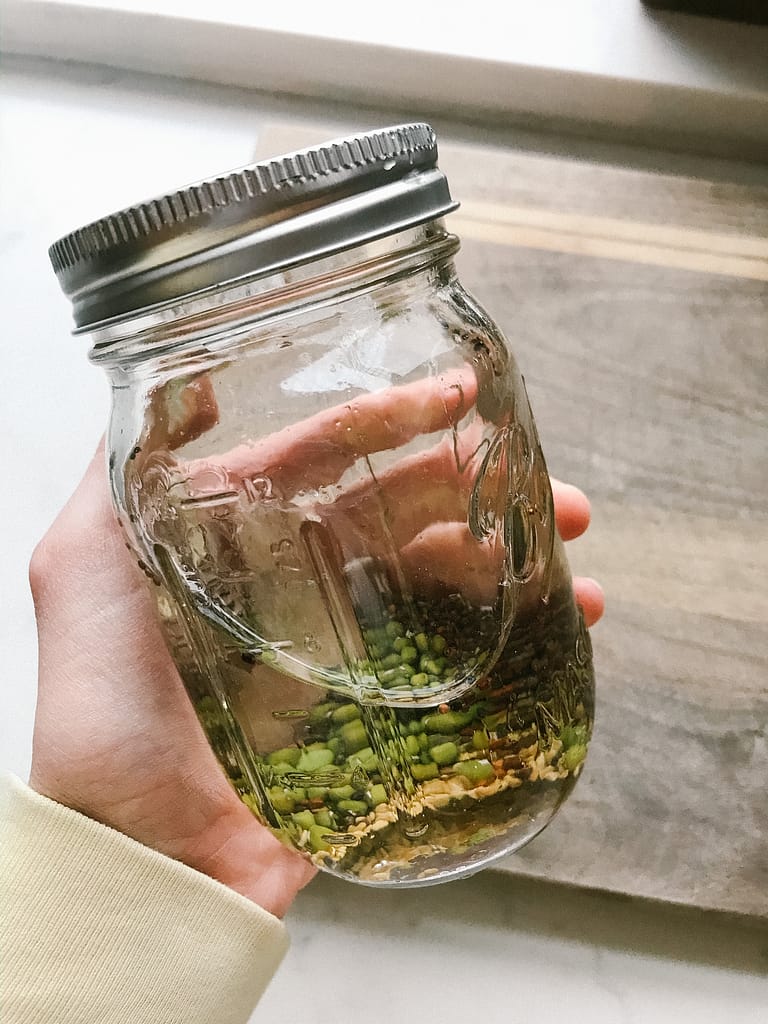
Cover seeds with filtered water.
Place mason jar lid on jar and place on counter overnight. 8-12 hours is ideal. You want your jars to sit in a cool, dry place without direct sunlight,
After soaking 8-12 hours, replace mason jar lid with sprouting lid and drain the water out.
Add new filtered water and swoosh around a few times.
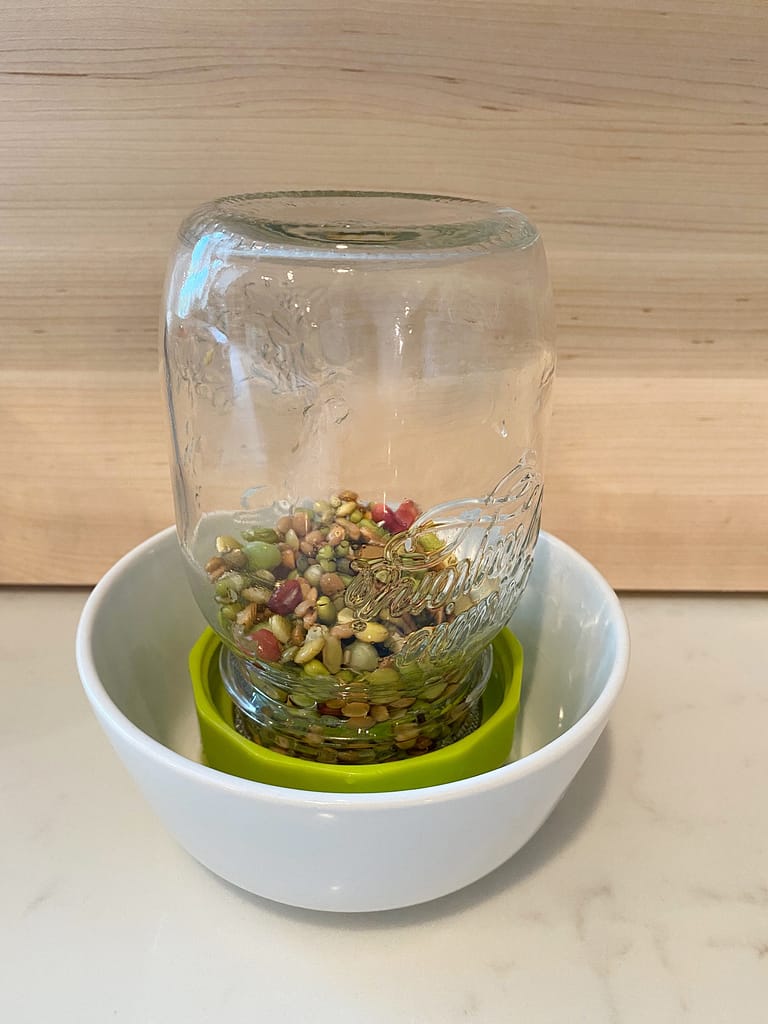
Drain water and set jar upside down (sprouting lid stays on) to continue draining in a bowl.
Twice a day rinse, swoosh and drain filtered water in the mason jar.
The sprouts will sit on the counter for 2-7 days (depending on type of sprout) until they are ready!
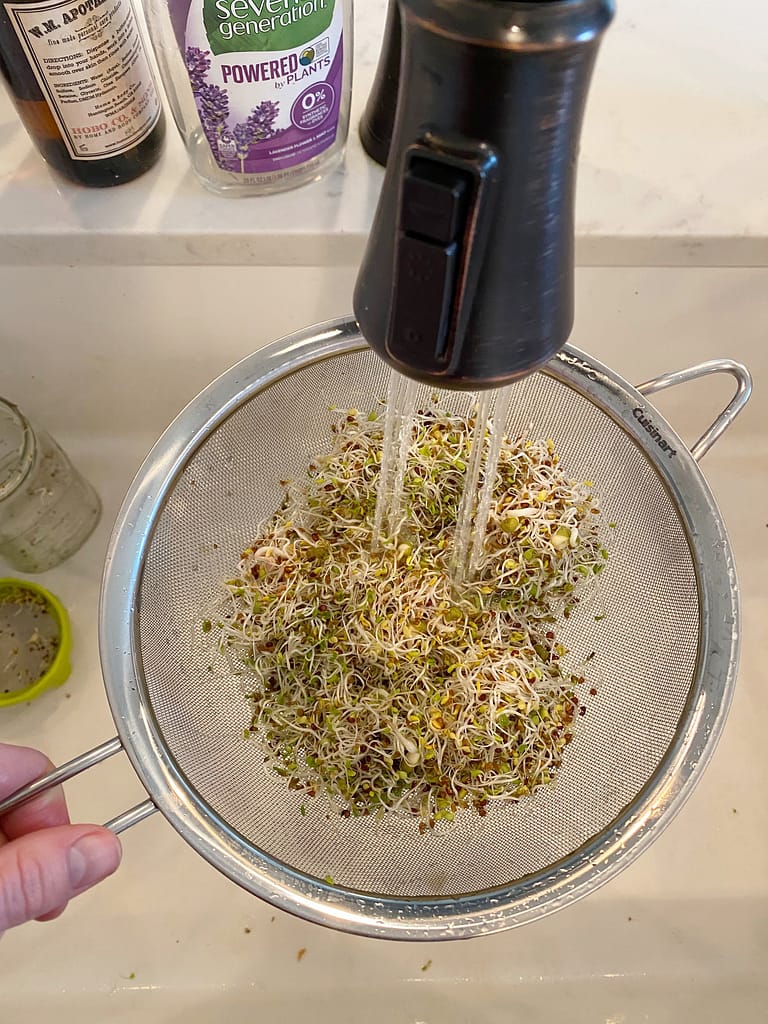
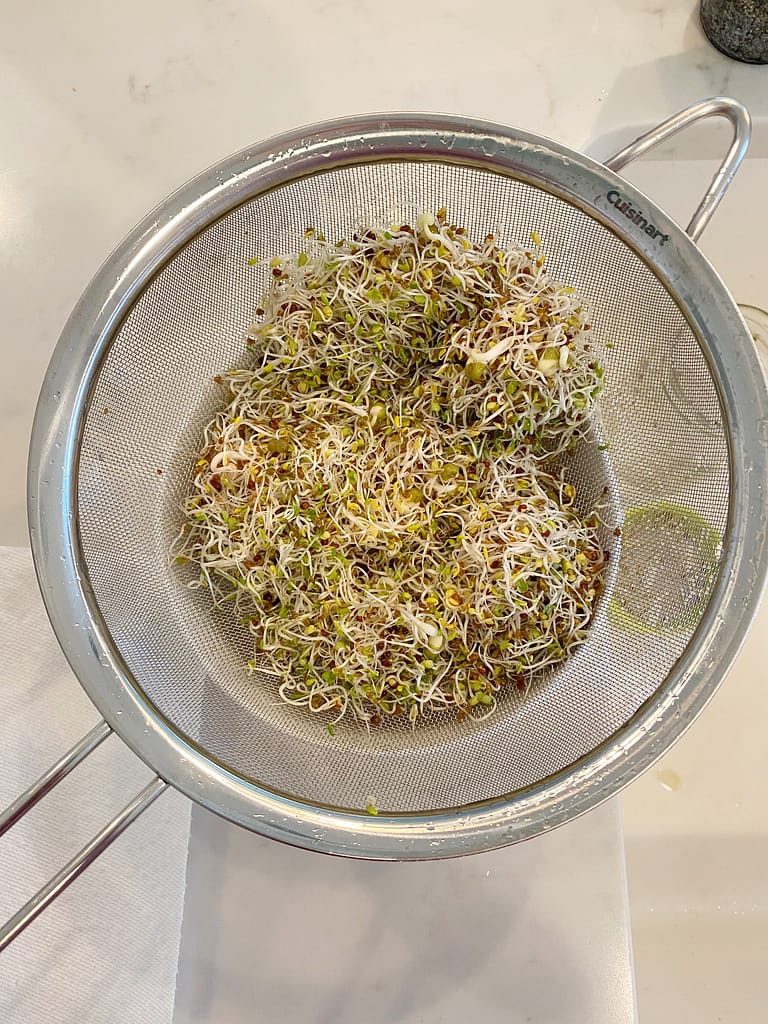
Once sprouted, rinse in cold water over strainer.
Make sure no mold is present.
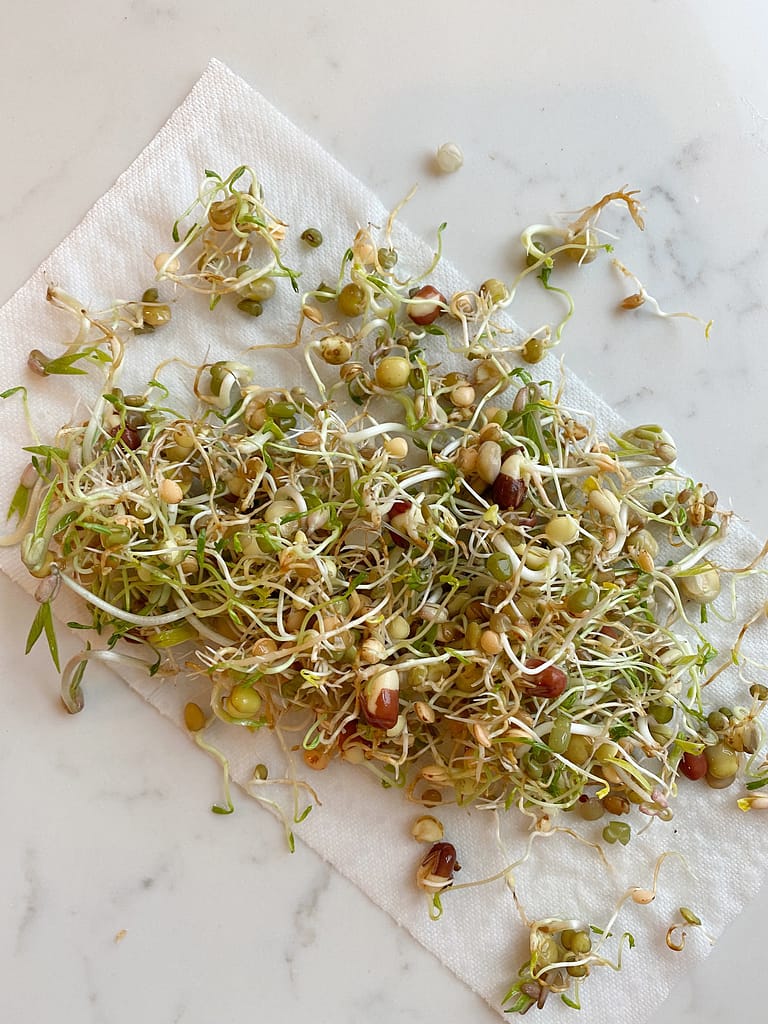
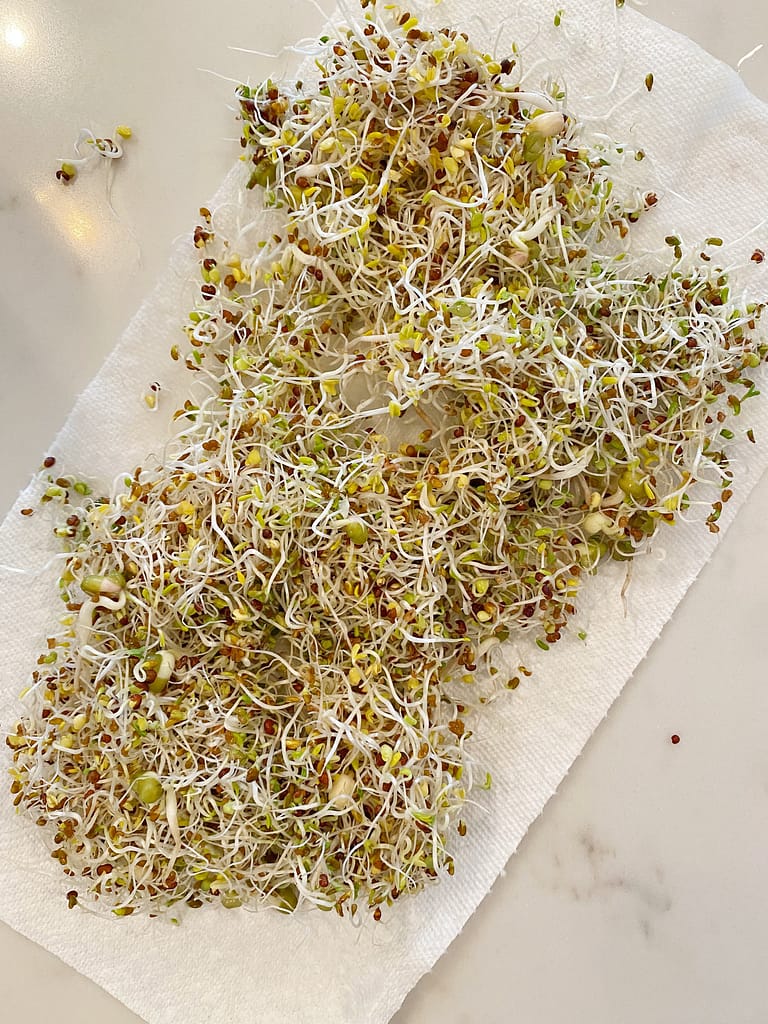
Dry sprouts on paper towels.
Store sprouts in the fridge in an air tight container for about a week.
Enjoy!
Day 1 sprouts
Day 3 sprouts
Day 6 sprouts
Where to buy:

Homemade Sprouts
Ingredients
- 2 tbsp sprouting seeds of choice
- filtered water
Equipment
- Medium sized mason jar
- Sprouting lid
Instructions
- Before starting, make sure your sprouting jars are thoroughly clean to discourage mold and bacteria growth.
- In a medium sized mason jar, add about 2 tbsp of seeds. This measurement does not need to be exact, I measured them out the first time, then after that just eye-balled the amount.
- Cover seeds with filtered water.
- Place mason jar lid on jar and place on counter overnight. 8-12 hours is ideal. You want your jars to sit in a cool, dry place without direct sunlight,
- After soaking 8-12 hours, replace mason jar lid with sprouting lid and drain the water out.
- Add new filtered water and swoosh around a few times.
- Drain water and set jar upside down (sprouting lid stays on) to continue draining in a bowl.
- Twice a day rinse, swoosh and drain filtered water in the mason jar.
- The sprouts will sit on the counter for 2-7 days (depending on type of sprout) until they are ready!
- Once sprouted, rinse in cold water over strainer.
- Make sure no mold is present.
- Dry sprouts on paper towels.
- Store sprouts in the fridge in an air tight container for about a week.
- Enjoy!

